Lard from organically-raised, foraging and outdoor range hogs (also known as “pastured lard”) is a health food. Yes, that’s right–a HEALTH FOOD. Pastured lard is high in MUFAs (monounsaturated fatty acids), which are also found in avocado, nuts and seeds, oils, olives, and dark chocolate.
It is a beautiful, white, naturally-hydrogenated, solid fat. Most of its carbon sites are filled with hydrogen’s in their natural and normal cis position just as it comes from the hog. Good lard is only 40% SATURATED fat, with 48% MONOUNSATURATED and 12% POLYUNSATURATED fat.
Lard is stable and the preferred fat for frying, it does not easily turn into trans fats when heated. Potatoes, for example, fried in lard can be cooked in a shorter time at a higher temperature resulting in a better taste and texture as well as less rancidity and embedded oil. (source)
Want to learn how to make this delicious health food? It’s surprisingly easy.
The hardest part is finding the highest quality pork fat since you cannot go to a regular grocery store to find it. You can call Whole Foods and see if they carry level 4 or higher leaf lard. Or you can find a local farmer that has pastured hogs. You can find one at a farmers market or with some good internet mining. You can also easily order pastured pork online. I get my pork products from Wettstein Organic Farm because they deliver to my town once a month in the winter months and are here every Saturday at my local farmers market May-October.
Ask the farmer to ground up some leaf lard for you. It doesn’t have to be ground, but it makes it much easier to render. This should not be a problem for the farmer. Pork fat is pretty inexpensive, I get mine for $2 a pound including taxes and delivery.
Tools & Ingredients needed:
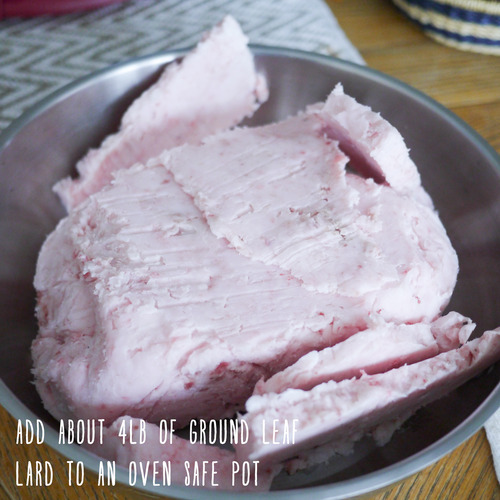
- 4 pounds ground leaf lard
- an oven safe pot
- some cheese cloth or a paint straining bag (you can get a pack of 2 from Lowe’s or Menards for about $2)
- 2 1-quart mason jars
Optional tools for making cracklings:
- a cookie sheet
- aluminum foil
Step 1: Preheat your oven to 300-325 degrees.
Step 2: Cut the lard into manageable chunks and place in your oven safe pot (frozen lard is easier and less messy to handle)
Step 3: Place the pot in the preheated oven and leave it in there for about an hour or when the liquid lard starts to separate from the cracklings. This will be your first rendering.
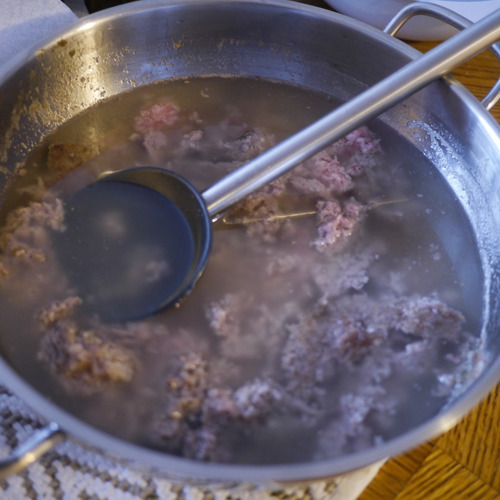
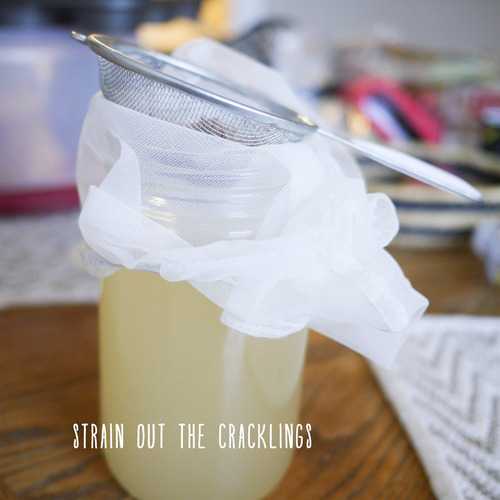
Step 4: Ladle the liquid through a strainer with some layers of cheese cloth to separate the solids called “cracklings,” which you will put back into the pot for the 2nd rendering. The majority of the lard will come from this first rending. I got about 1.5 quarts from this 1st rending!
Step 5: After you skim most of the liquid off, put the pot back in the oven and leave it in there until more liquid appears (about an hour.) Repeat the Step 4 instructions. You should have about 2 quarts of lard now.
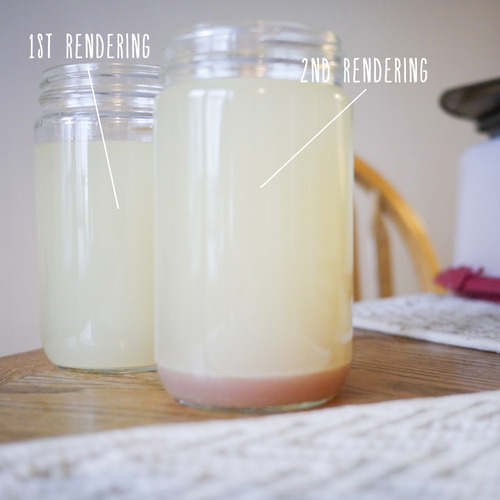
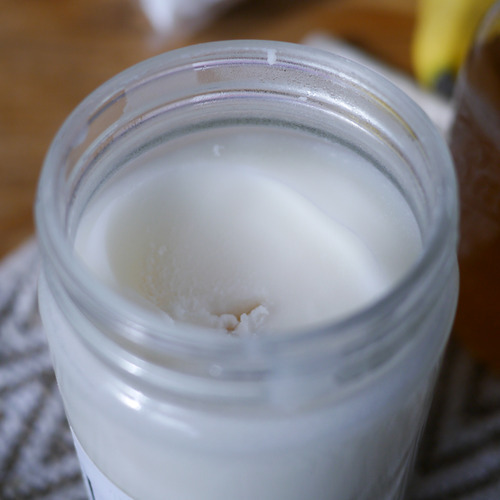
The lard should be a pale yellow when warm, but as it cools and solidifies it will turn to a pure white. This light and fluffy leaf lard is perfect for baked goods because it doesn’t leave a pork taste. Don’t worry if your lard turns out darker the first time, it’s still perfectly usable, I just would just use it for more savory dishes.

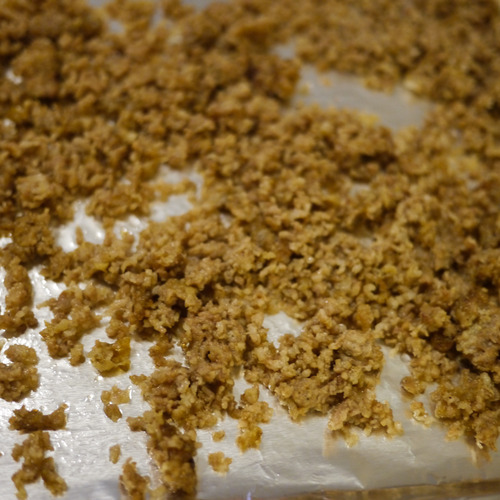
(optional) Step 6: Turn the oven up to 350 degrees. Line a cookie sheet with some aluminum foil and spread the solids left from the straining. Bake the solids until they are crispy and golden brown. These are the cracklings! I like to add a little salt as a snack. My dog enjoys them, too!